Jupyter notebook, 前身是 IPython notebook, 它是一个非常灵活的工具,有助于帮助你构建很多可读的分析,你可以在里面同时保留代码,图片,评论,公式和绘制的图像。
Jupyter具有非常强的可扩展性,支持很多编程语言,并且易于部署到你的个人电脑和几乎所有的服务器上 -- 你只需要使用ssh或http接入即可。最重要的是,它完全免费。
Jupyter默认设置使用 Python kernel,正因此以前叫做 IPython notebook. Jupyter notebook 源自于 Jupyter 项目, Jupyter这个名字是它被设计所支持三个核心编程语言的缩写词:JUlia,PYThon, 和 R, 启发自木星这个词:Jupiter.
接下来的内容将向你展示27个让 Jupyter 用的更加舒心的建议与技巧。
1. Keyboard Shortcuts
每一个进阶用户都知道,键盘快捷键将会为我们节省许多时间。Jupyter在顶部的菜单里保留了许多快捷键:Help > keyboard Shortcuts. 每次更新Jupyter时,都值得再次进行查看,因为新的快捷键总是不断被添加进来。
另一个查看快捷键的方式是使用命令面板:Cmd + Shift + P(或者Linux和Windows上 Ctrl + Shift + P)。这个对话框将会帮助你通过名称运行任何命令 -- 这非常有用,尤其当你不知道一个命令的快捷键或者你想要执行的命令没有快捷键时。这个功能非常类似与Mac上的Spotlight搜索,一旦你开始使用这个功能,你就会发现没有它的日子该怎么办!
这里是一些我喜欢的快捷键:
Esc + F查找和替换你的代码,但不包括代码的输出内容。Esc + o打开代码块输出。选择多个 cell。
Shift + J或Shift + Down向下选中下一个cell. 你可以通过Shift + K或Shift + Up向上选中 cell。(译者:jk,与vim的移动方式一致)一旦 cell 被选中,接着你可以进行批量删除/复制/剪切/粘贴.当你需要移动一部分notebook时,这非常有用。
你也可以执行
Shift + M(译者:m记为merge)对多个cell进行合并。
2. Pretty Display of Varibles
这部分内容可能很多人都知道。如果对带有一个变量或是未赋值语句的cell执行操作,Jupyter 将会自动打印该变量而无需一个输出语句。这非常有用,尤其是使用 Pandas DataFrames 进行处理时,因为输出将会被整齐地格式化为一个表格。
接下来的内容可能没那么人知道:你可以选择修改 ast_note_iteractively kernal 选项来使得 Jupyter 为每一行的变量或语句执行这个操作,以便你可以立即看到多条语句一起输出。
line1 = "this is from line 1"
line2 = "this is from line 2"

line1
line2
from IPython.core.interactiveshell import InteractiveShell
InteractiveShell.ast_node_interactivity = "all"
line1
line2
如果你想要所有的Jupyter实例(Notebook和Console)都设置该选项,只需创建 ~/.ipython/profile_default/ipython_config.py 文件并写入一下内容:
c = get_config()
# Run all nodes interactively
c.InteractiveShell.ast_node_interactivity = "all"
3. Easy links to documentation
在 Help 菜单你可以找到一些常用库文档的连接,包括 NumPy, Pandas, SciPy 和 Matplotlib.
同时别忘了在一个库,方法或变量前加上 ?,你可以获得它的一个快速语法说明。
?sum()
4. Plotting in notebooks
在 notebook 中生成绘图有许多选项:
matplotlib, 使用
%matplotlib inline进行激活。%matplotlib notebook提供了一些交互性,不过可能会有点慢,因为渲染由服务器端完成。mpld3为matplotlib代码提供了另一个渲染器(使用d3)。非常漂亮,不过尚不完备还有待发展。
bokeh是构建交互性绘图的一个更好的选择。
plot.ly也可以生成漂亮的绘图,不过是付费服务。
5. Jupyter Magic Commands
上面的 %matplotlib inline 就是一个所谓的 Jupyter Magic (Jupyter魔法)命令。
%lsmagic
推荐阅读the documentation for all Jupyter magic commands,你会发现这非常有用。下面是一些我所喜爱的魔法命令:
6. Jupyter Magic - %env:Set Environment Variables
你可以管理notebook的环境变量而无需重启jupyter server. 一些库(比如theano)使用环境变量来控制行为,%env是最方便的一个途径。
# 单独运行 %env 会列出所有环境变量

# 带参数的话则会设置该变量 比如 OMP_NUM_THREADS=4
%env OMP_NUM_THREADS=4
7. Jupyter Magic - %run:Excute python code
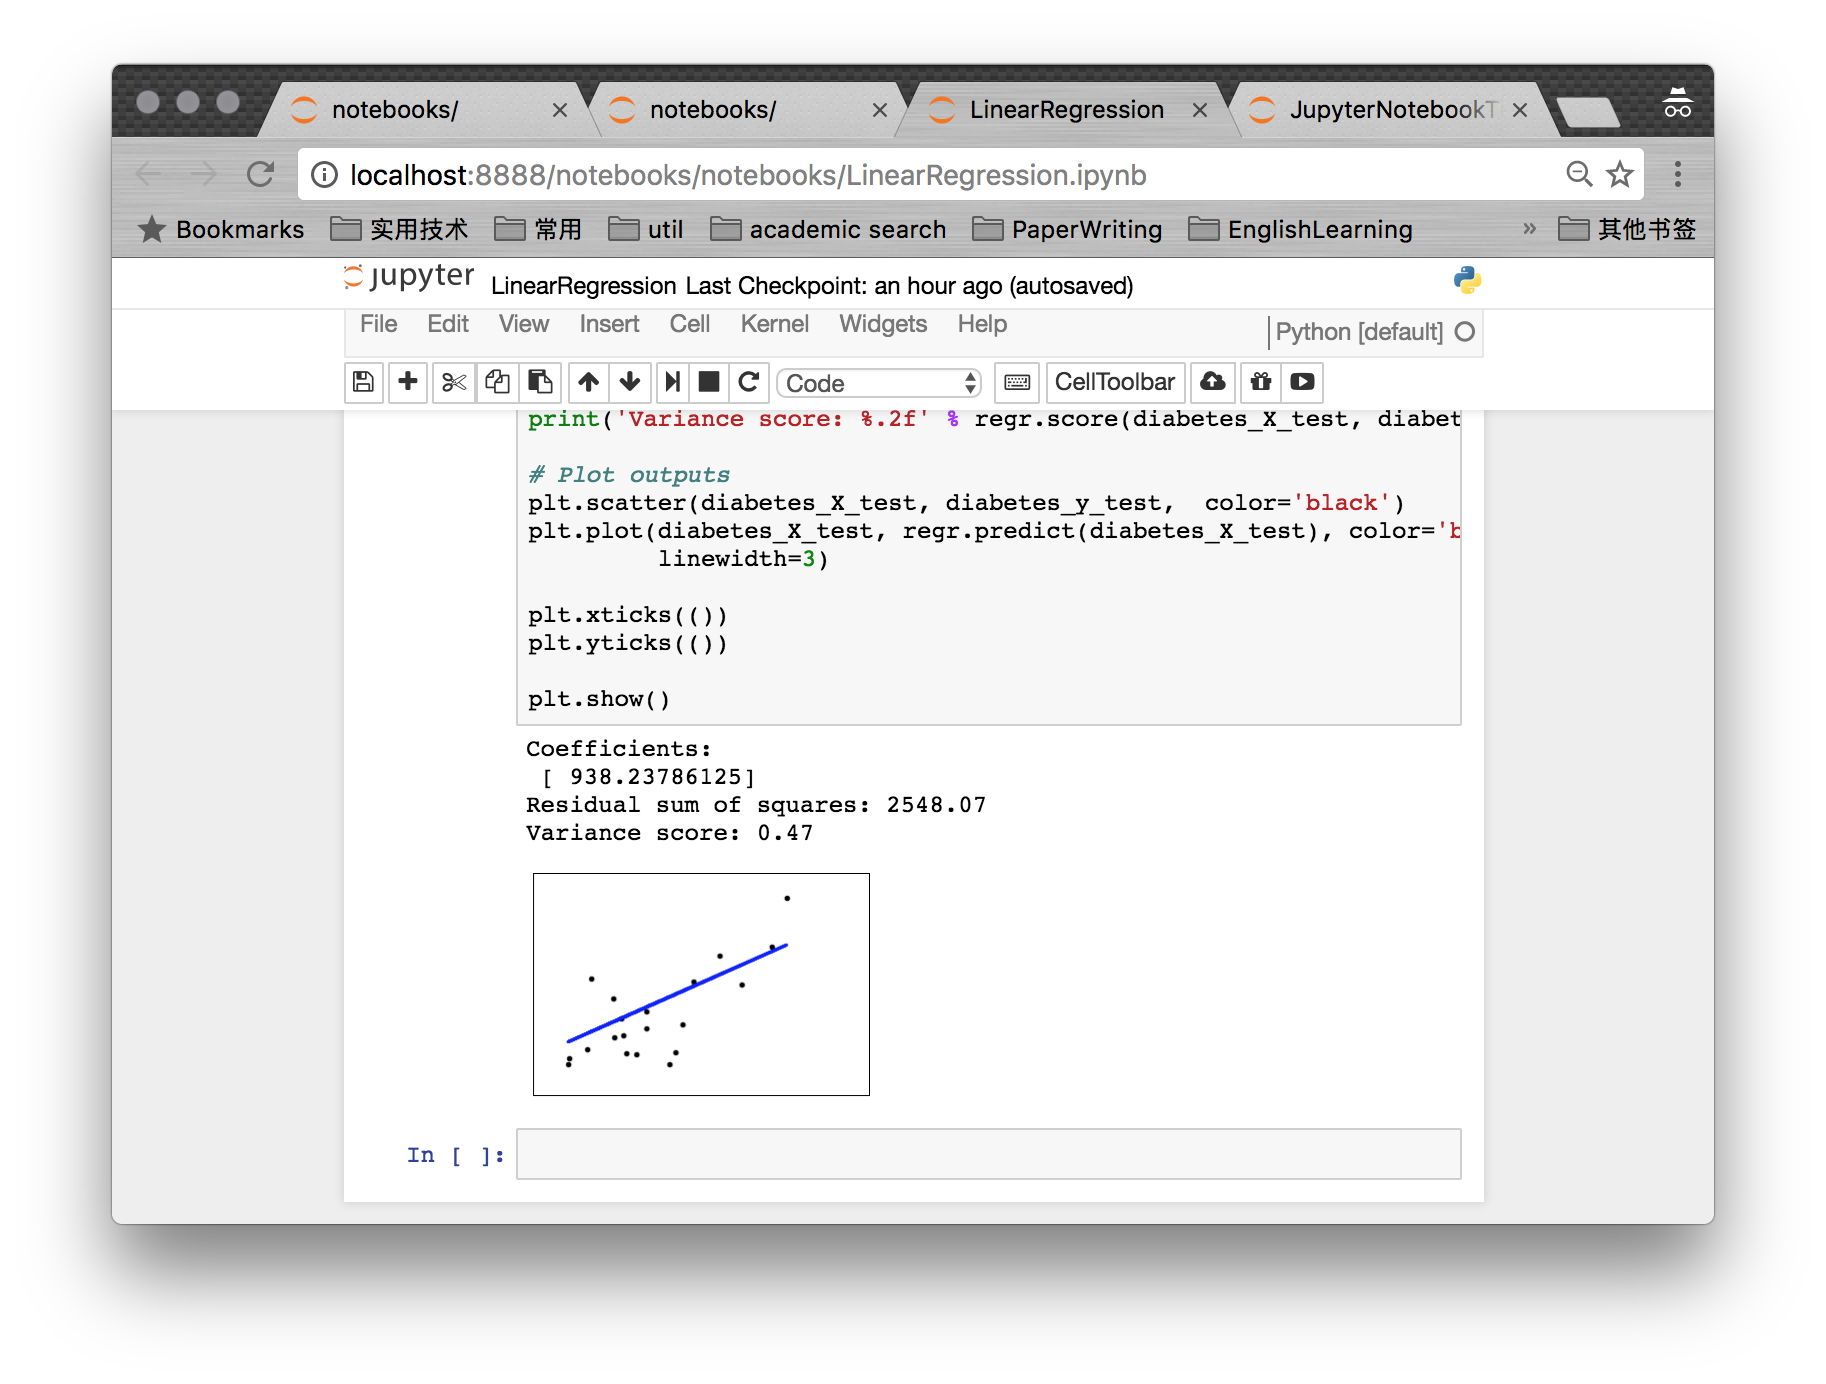
%run可以从.py文件执行Python代码. 更少的人知道的是它也可以执行其他的Jupyter notebook,这也非常有用。
注意使用%run并不等同于导入一个Python模块.
# this will execute and show the output from
# all code cells of the specified notebook
%run ./LinearRegression.ipynb

8. Jupyter Magic - %load:Insert the code from an external script
这将会使用外部脚本来代替cell的内容。你可以使用本地机器上的文件也可以使用一个URL.
9. Jupyter Magic - %store:Pass variables between notebooks
%store命令可以让你在两个不同的notebook间传递变量。
10. Jupyter Magic - %who:List all variables of global scope.
不带参数的%who命令将会列出全局范围内存在的所有变量。如果传入参数,比如str,将会列出指定类型的所有变量。
%who
11. Jupyter Magic - Timing
对于计时有两个十分有用的魔法命令:%%time 和 %timeit. 如果你有些代码运行地十分缓慢,而你想确定是否问题出在这里,这两个命令将会非常方便。
%%time将会给出cell的代码运行一次所花费的时间。
%%time
import time
for _ in range(1000):
    time.sleep(0.01)# sleep for 0.01 seconds
%timeit使用Python的timeit模块,它将会执行一个语句100,000次(默认情况下),然后给出运行最快3次的平均值。
import numpy
%timeit numpy.random.normal(size=100)
12. Jupyter Magic - %%writefile and %pycat:Export the contents of a cell/Show the contents of an external script
使用%%writefile魔法保存cell的内容到一个外部文件。%pycat则刚好相反,并且会向你展示高亮后的外部文件。
13. Jupyter Magic - %prun:Show how much time your program spent in each function
使用%prun statement_name将会产生一个有序表格来展示在该语句中所调用的每个内部函数调用的次数,每次调用的时间与该函数累计运行的时间。
%prun print('hello')
14. Jupyter Magic - Debugging with %pdb
Jupyter有一个自己的python调试器接口(pdb),这使得我们能够进入函数内部看看到底发生了什么。
你可以在这里查看pdb的命令列表
15. Suppress the output of a final function
有时候你可能会想要抑制最后一行函数的输出,比如当我们绘制图像的时候。为此,你只需加上一个分号即可。
%matplotlib inline
from matplotlib import pyplot as plt
import numpy
x = numpy.linspace(0, 1, 1000)**1.5
# Here you get the output of the function
plt.hist(x)

# By adding a semicolon at the end, the output is suppressed.
plt.hist(x);
!ls
或是检查或管理包.
!pip list | grep pandas
18. Run code from a different kernel in a notebooks
如果想要的话,你可以将多个 kernel 的代码组合到一个 notebook 中。
在每个cell的开头使用相关的魔法命令来声明你想使用的 kernel:
%%bash%%HTML%%python2%%python3%%ruby%%perl
%%bash
for i in {1..5}
do
   echo "$i"
done
19. Install other kernels for Jupyter
Jupyter 其中的一个重要特色就是能够运行不同语言,你只需安装相关的 kernel 即可。比如,下面的例子是如何安装 R kernel.
- 快捷选择:使用anaconda安装 R kernel
如果你使用 anaconda 安装你的环境,这会相当简单。你只需要在 terminal 中运行下面的命令:
conda install -c r r-essentials- 不那么快捷的方式:手动安装 R kernel
如果你不是使用 anaconda, 这个过程可能稍显复杂。如果你还没有安装的话, 你需要从 CRAN安装。(译者: 也可使用 brew cask install r-gui)
安装 R 完毕后,打开 R console 并运行如下命令:
install.packages(c('repr', 'IRdisplay', 'crayon', 'pbdZMQ', 'devtools'))
devtools::install_github('IRkernel/IRkernel')
IRkernel::installspec()  # to register the kernel in the current R installation
20. Running R and Python in the same notebook
对于此最好的解决方案是安装 rpy2(需要安装一个可以工作的 R ), 通过 pip 可以很容易安装:
pip install rpy2你可以同时使用这两种语言,甚至在它们之间传递变量:
一个很好的示例 Revolutions Blog
21. Writing functions in other languages
有时候 numpy 的速度仍旧不够快,我们需要自己写一些更快的代码。
原则上,你可以以动态链接库的方式编译函数,然后用 python 进行包装。
不过如果有人能够帮你完成这部分烦人的工作是不是非常棒呢?
你可以用 cython 或 fortran 写函数并直接从 Python 代码进行调用。
首先你需要安装:
pip install cython fortran-magic
个人来说我更喜欢使用 fortran, 我发现它对数值统计函数十分方便。更多用法上的细节可以在这里找到.
也有一些其他方式可以加速你的Python代码。更多示例可以在这里找到/
23. Jupyter-contrib extensions
Jupyter-contrib extensions 是一系列能够给 Jupyter 带来许多功能的扩展,比如 jupyter spell-checker 和 code-formatter.
译者:使用conda安装是最方便的,更多安装与使用信息可以看Jupyter-contrib extensions. 启用插件可以使用jupyter_nbextensions_configurator , 通过打开 http://localhost:8888/nbextensions/ 进行设置,里面有很多实用的插件,具体自行发现。
conda install -c conda-forge jupyter_contrib_nbextensions
24. Create a presentation from a Jupyter notebook
Damian Avila的 RISE 允许你从已有的一个 notebook 创建一个 powerpoint 风格的报告。
你可以通过 conda 安装 RISE:
conda install -c damianavila82 rise
或通过 pip:
pip install RISE
然后执行下面的代码安装并启用扩展:
jupyter-nbextension install rise --py --sys-prefix
jupyter-nbextension enable rise --py --sys-prefix
25. The Jupyter output system
notebook 以 HTML 的方式进行展示,cell 的输出也可以是 HTML,所以事实上你可以返回任何东西:视频/音频/图像。
下面的例子我扫描了 images 目录下的 png 文件,并输出它们的缩略图.(译者:因为当前该目录下只有两个 png 文件,所以仅输出两个)
import os
from IPython.display import display, Image
names = [f for f in os.listdir('../images/') if f.endswith('.png')]
for name in names[:5]:
    display(Image('../images/' + name, width=100))


26. 'Big data' analysis
对于大规模数据样本的查询/处理也有一些解决方案:
ipyparallel(以前叫ipython cluster)是使用 Python 进行简单 map-reduce 操作的一个很好的选择。
spark-sql 魔法 %%sql
27. Sharing notebooks
分享 notebook 最简单的方式是直接使用 notebook 文件(.ipynb).不过对于那些不使用 Jupyter 的人来说,你也可以这么做:
使用菜单项
File > Download as > HTML将 notebook 转换成 HTML。使用 gist 或 github 分享 notebook,它们都会对 notebook 进行渲染展示。
- 如果你上传 notebook 到一个 github 仓库,你可以使用十分便利的mybinder服务来允许第三者半小时时间以交互性身份访问你的仓库。
安装jupyterhub, 当你组织一个小型课程或研讨会没有心思关心学生的机器状况时,这是非常方便的。
将 notebook 保存到比如 dropbox 中,然后将链接放到nbviewer. nbviewer将会渲染你存储在任何地方的notebook.
使用
File > Download as > PDF菜单将 notebook 保存为一个 PDF。如果你打算这么做,强烈推荐你阅读 Julius Schulz 非常棒的一篇文章Making publication ready Python notebooks.使用 Pelican 搭建一个关于数据科学博客( 译者注:可在这里查看译文 )